

Applying car wrapping film around curves can be a real challenge, but with the right techniques and a bit of patience, you can achieve a professional - looking finish. As a car wrapping film supplier, I've seen firsthand how a well - wrapped car can transform its appearance. So, let's dive into how to tackle those tricky curves effectively.
Preparing for the Job
Before you even think about applying the film around curves, you need to make sure you have all the right tools and that the car's surface is properly prepped.
First off, gather your tools. You're going to need a heat gun, a squeegee, a razor blade, and a spray bottle filled with a soapy water solution. The heat gun will help make the film more flexible, the squeegee is for smoothing out the film, the razor blade for trimming, and the soapy water will act as a lubricant, allowing you to adjust the film easily on the surface.
Next, clean the car thoroughly. Wash it, dry it, and then use an alcohol - based cleaner to remove any dirt, grease, or wax. This will ensure that the film adheres properly to the car's surface. Even a tiny speck of dirt can cause a bubble or wrinkle in the film, especially when going around curves.
Choosing the Right Film
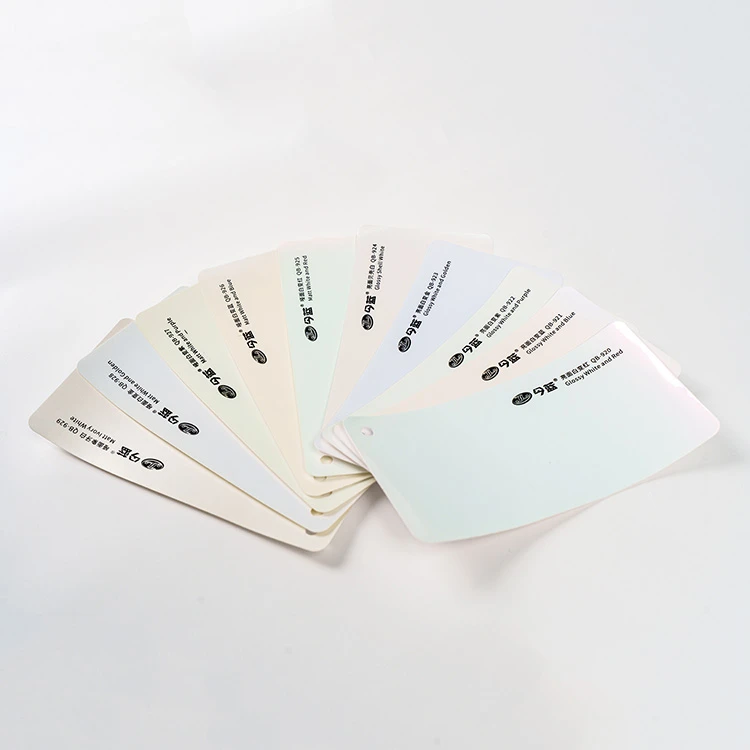
As a supplier, I know there are a variety of options out there. For curved surfaces, you might want to consider PET Color Wrapping Film. It has excellent flexibility and can conform well to different shapes. PVC Single Color Wrapping Film is also a popular choice. It's durable and provides a smooth finish. And if you're looking for a more eye - catching option, PVC Multiple Color Wrapping Film can add a unique touch to your car.
Marking the Area
Before applying the film, it's a good idea to mark the area on the car where the film will go. Use masking tape to outline the shape and size of the section you'll be wrapping. This is especially important on curves, as it gives you a clear guide and helps ensure that the film is applied in the right place.
Applying the Film
Now, let's get to the actual application. Start by spraying the soapy water solution generously on the marked area of the car and also on the back of the film. This will allow the film to slide around easily, making it easier to position on the curve.
Lay the film over the area, starting from one end and gradually working your way across. As you go, use the squeegee to smooth out any bubbles or wrinkles. Work from the center of the film outwards, pushing the air and excess soapy water out.
Working Around Curves
When it comes to curves, things get a bit more complicated. As you reach the curved part, use the heat gun to warm up the film. Hold the heat gun about 4 - 6 inches away from the film and move it back and forth evenly. The heat will make the film more pliable and easier to bend around the curve.
While heating the film, gently start to mold it around the curve using your hands. You might need to stretch the film slightly, but be careful not to over - stretch it, or it could tear. Keep using the squeegee to smooth the film and ensure it adheres properly to the curve.
For sharp curves, you may need to make small cuts in the film. Use the razor blade to make a series of small, evenly - spaced cuts along the edge of the film that will be going around the curve. This will allow the film to fold and conform to the shape without creating excessive wrinkles.
Trimming the Excess
Once the film is properly applied and molded around the curve, it's time to trim the excess. Use the razor blade to carefully cut off any extra film, following the edge of the masking tape or the natural contours of the car. Make sure your cuts are clean and precise to achieve a professional look.
Post - Application Inspection
After you've finished trimming, give the wrapped area a final inspection. Look for any bubbles, wrinkles, or areas where the film may not be fully adhered. If you find any problems, you can use the heat gun again to warm up the film and re - work it with the squeegee.
Sometimes, small air pockets can form even after a careful application. To fix these, use a pin to pierce the bubble and then use the squeegee to press out the air.

Tips and Tricks
- Practice makes perfect: If you're new to car wrapping, it's a good idea to practice on a small, flat surface before tackling the curves. This will help you get the hang of using the tools and techniques.
- Work in a clean environment: Dirt and debris can ruin your wrapping job. Try to work in a clean, dust - free area, ideally a garage or a covered workspace.
- Use good quality film: Investing in high - quality car wrapping film will make your job easier and the final result more long - lasting. As a supplier, I can attest to the difference in quality between different brands and types of film.
Conclusion
Applying car wrapping film around curves is a skill that takes time and practice to master. But with the right tools, the appropriate film, and a methodical approach, you can achieve a beautiful, professional - looking finish. Whether you're doing it for personalization or for a client, the end result can be truly rewarding.
If you're interested in purchasing car wrapping film for your next project, don't hesitate to reach out. We're here to provide you with top - notch products and support to ensure your wrapping project goes smoothly.
References
- "The Art of Car Wrapping" - An industry handbook on car wrapping techniques.
- Various in - house product training materials from car wrapping film manufacturers.