

Hey there, car enthusiasts! If you're looking to give your ride a fresh new look without the commitment of a full paint job, then you've come to the right place. I'm a supplier of PET Color Wrapping Film, and I'm here to walk you through the process of installing it on your car. It's not as complicated as it might seem, and with a little patience and the right tools, you can transform your car into a head-turner.
What is PET Color Wrapping Film?
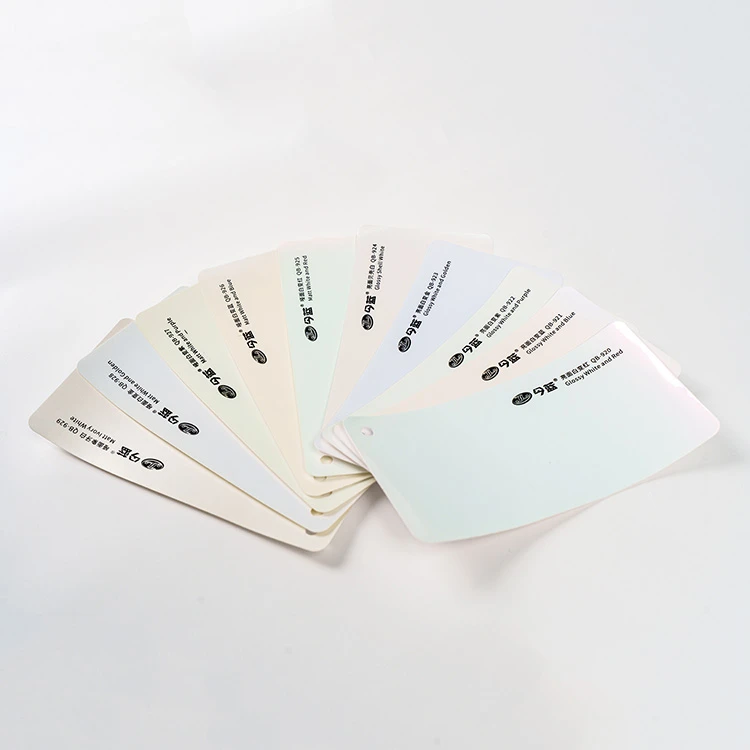
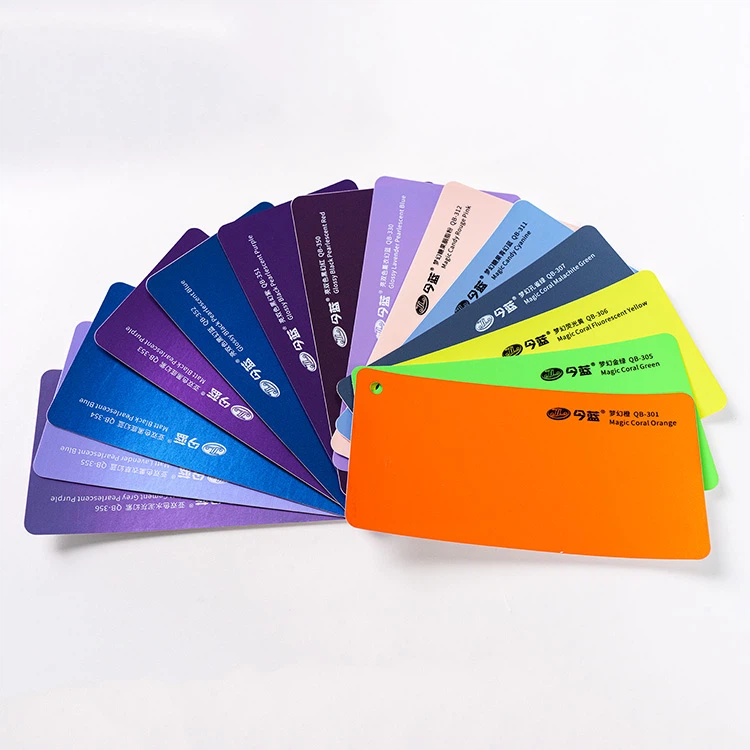
Before we dive into the installation process, let's talk a bit about what PET Color Wrapping Film is. PET, or polyethylene terephthalate, is a type of plastic that's known for its durability, flexibility, and resistance to UV rays. Our PET Color Wrapping Film comes in a wide range of colors and finishes, from matte to gloss, so you can choose the look that suits your style. Whether you want to go for a sleek, modern look or a bold, eye-catching design, there's a PET wrap for you.
Compared to other types of wrapping films, like PVC Fantasy Color Wrapping Film and PVC Multiple Color Wrapping Film, PET wrap offers better adhesion, longer-lasting color, and is easier to remove without leaving any residue. It's also more resistant to scratches and abrasions, which means your wrap will stay looking great for longer.
Tools and Materials You'll Need
Before you start installing the PET Color Wrapping Film, you'll need to gather a few tools and materials. Here's what you'll need:
- PET Color Wrapping Film: Make sure you have enough film to cover your entire car. Measure your car carefully and add a little extra to account for any mistakes or trimming.
- Squeegee: A good squeegee is essential for smoothing out the film and removing any air bubbles. Look for a squeegee with a soft, flexible blade to avoid scratching the film.
- Heat Gun: A heat gun is used to warm up the film, making it more flexible and easier to conform to the curves of your car. Make sure you choose a heat gun with adjustable temperature settings to avoid overheating the film.
- Utility Knife: You'll need a sharp utility knife to trim the film to size and cut around any curves or edges.
- Soap Solution: A soap solution helps to lubricate the film and makes it easier to position and smooth out. You can make your own soap solution by mixing a few drops of dish soap with water in a spray bottle.
- Microfiber Cloths: Microfiber cloths are great for cleaning the surface of your car before installation and for wiping away any excess soap solution or water.
Preparing Your Car
The first step in installing PET Color Wrapping Film is to prepare your car. This involves cleaning the surface of your car thoroughly to remove any dirt, dust, or grease. Here's how to do it:
- Wash Your Car: Start by washing your car with a high-quality car wash soap and a soft sponge or microfiber cloth. Make sure you rinse your car thoroughly to remove all the soap residue.
- Dry Your Car: Use a clean microfiber cloth to dry your car completely. Make sure there are no water spots or streaks left on the surface of your car.
- Remove Any Wax or Polish: If your car has been waxed or polished recently, you'll need to remove the wax or polish before installing the PET wrap. You can use a wax and grease remover to do this. Follow the instructions on the product carefully and make sure you rinse your car thoroughly after using the wax and grease remover.
- Inspect Your Car: Once your car is clean and dry, inspect the surface for any scratches, dents, or other imperfections. If you find any, you'll need to repair them before installing the PET wrap. Small scratches can be filled with a touch-up paint, while larger dents may need to be repaired by a professional body shop.
Measuring and Cutting the Film
Once your car is prepared, it's time to measure and cut the PET Color Wrapping Film. Here's how to do it:
- Measure Your Car: Use a measuring tape to measure the length and width of each section of your car that you want to cover with the PET wrap. Make sure you measure carefully and add a few extra inches to each measurement to account for any trimming.
- Cut the Film: Lay the PET wrap on a clean, flat surface and use a utility knife to cut the film to the appropriate size. Make sure you cut the film straight and cleanly to avoid any jagged edges.
- Test Fit the Film: Before you start applying the film to your car, it's a good idea to test fit it to make sure it's the right size and shape. Lay the film over the section of your car that you want to cover and make any necessary adjustments.
Applying the Film
Now that you've measured and cut the PET Color Wrapping Film, it's time to apply it to your car. Here's how to do it:
- Spray the Surface: Spray the surface of your car with the soap solution to lubricate it. This will make it easier to position and smooth out the film.
- Position the Film: Carefully lay the PET wrap over the section of your car that you want to cover. Start at one end and slowly lower the film onto the surface of your car, making sure it's aligned correctly.
- Smooth Out the Film: Use a squeegee to smooth out the film and remove any air bubbles. Start at the center of the film and work your way out towards the edges, using firm, even pressure. Make sure you push all the air bubbles out from under the film.
- Heat the Film: Use a heat gun to warm up the film, making it more flexible and easier to conform to the curves of your car. Hold the heat gun about 6 inches away from the film and move it back and forth in a slow, even motion. Be careful not to overheat the film, as this can cause it to bubble or warp.
- Trim the Film: Once the film is smoothed out and conforms to the curves of your car, use a utility knife to trim the excess film around the edges. Make sure you cut the film straight and cleanly to avoid any jagged edges.
Finishing Touches
Once you've applied the PET Color Wrapping Film to your car, there are a few finishing touches you can do to make it look even better. Here's what you can do:
- Inspect the Film: Carefully inspect the film for any air bubbles, wrinkles, or other imperfections. If you find any, use a heat gun to warm up the film and a squeegee to smooth them out.
- Clean the Film: Use a microfiber cloth to clean the surface of the film and remove any fingerprints or smudges.
- Let the Film Cure: After you've installed the PET wrap, it's important to let it cure for at least 24 hours before washing or waxing your car. This will allow the film to fully adhere to the surface of your car and ensure a long-lasting finish.
Conclusion
Installing PET Color Wrapping Film on your car is a great way to give it a fresh new look without the commitment of a full paint job. With a little patience and the right tools, you can transform your car into a head-turner. If you have any questions or need help with the installation process, don't hesitate to contact us. We're a leading supplier of PET Color Wrapping Film, and we're here to help you every step of the way. Whether you're a professional installer or a DIY enthusiast, we have the products and expertise to meet your needs. So why wait? Contact us today to learn more about our PET Color Wrapping Film and start transforming your car!
References
- "Car Wrapping 101: A Comprehensive Guide." Car Wrapping Magazine, 2023.
- "How to Install Vinyl Wrap on Your Car." Auto Body Repair Network, 2023.
- "PET vs. PVC Wrapping Films: What's the Difference?" Wrapping Film Experts, 2023.